Free CA shipping over $150
How to clean your Philips Saeco brew unit
Written by Jennifer Mora
March 18, 2022
Numerous Saeco and Gaggia Espresso Machine owners are used to taking the Brew Unit out once a week to clean it off. But, we always get the same questions from our customers "How can we clean it deeper?" Here we go!
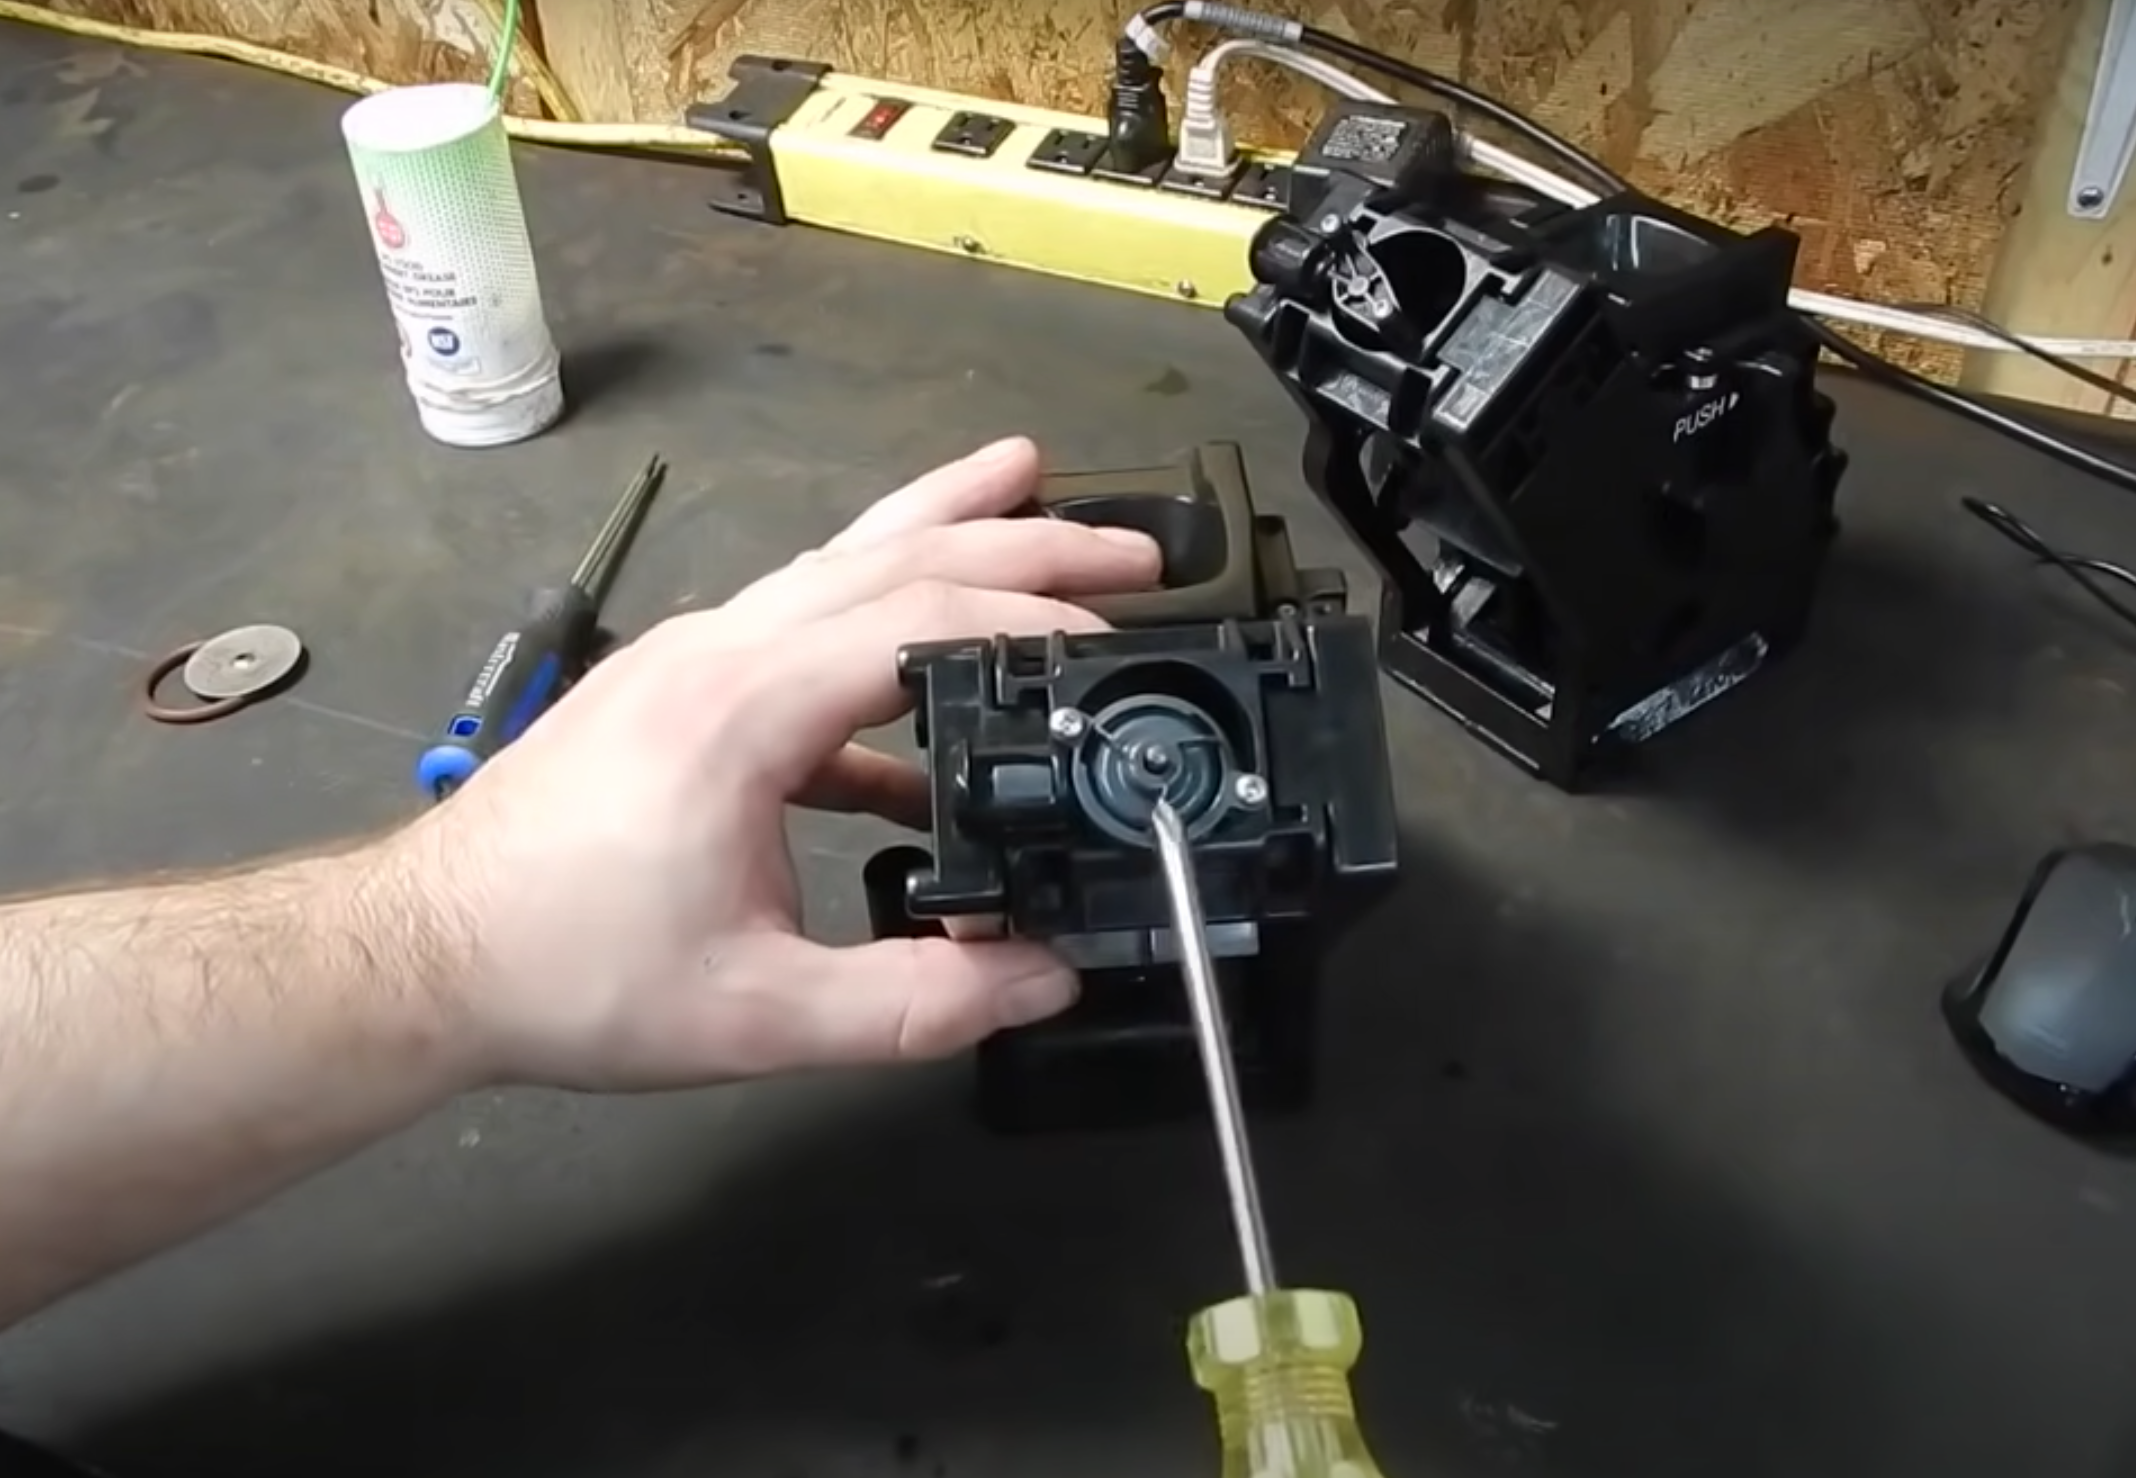
Remove the screws
You need a screwdriver to take the screws off. You can use the Philips torques number 10. First up, you will take off the top valve, where the coffee comes out. And then, you'll begin by removing the screws.

Here, you have to be pretty careful as there is a spring you don't want to lose. Beneath the spring, a tiny glass bead is blocking the coffee until the pressure is adequate. It condenses the screwing and permits the fluid to pass by it.

Take off the whole top
Now you have to take off the whole top. It’s released when you press these tabs on the inside. So there are 1, 2, 3, 4 Tabs, so you need to push two of them simultaneously. Next, utilize the side of the screwdriver.
Here you will see the brew seal and shower seal. If you have slow serving espresso, your shower screen may be clocked. Next, you have to pull up the piston. Take a flat blade screwdriver and stick it under that. You should now find the piston ready to come out here. The piston typically needs a good cleaning! This is an impeccable time also to lubricate some of those components here.

Greasing
Once you’re done cleaning, you can add a fresh brew gasket onto the tamping piston, as well as a new Shower Screen Filter. You should always keep an extra one of those on hand. You can find them available in our store, just follow this link HERE.


Take a thin little cloth and grease the gasket for easy gliding. Also, lubricate the rails on the inside, where all the friction builds up. But make sure not to put too much grease because that'll collect grounds.

Reassembling
Now, you have to take a little bit more grease this time and cover the whole piston shaft here. So you go in from the large top hole towards the back. Then, with the carriage still in the down position, hold it in place while you flip it over and push the hinge back in there. Next is to put the temp block back, so make sure that the hole for the valve is on the side closest to the front of the brew unit here. You will now slide it under, and it's just pushing it up to click in there.

Next, you’re going to return the glass seat valve. It just drops in there and rests against the little shoulder on the inside, right before the shower screen. The spring goes in next but doesn't stretch the spring! It is a fine-tuned piece of engineering that can withhold a particular amount of water pressure.
So push down, hold nice and firmly as you return the two screws, and tighten them. If you push down on the trim tab, it should be locked. If you push in there, the whole carriage comes loose on the inside, and you can feel and test the travel along the entire length. So that's what we call a brewing position. Home position is where the grinds go. It's also indicated by the two arrows pointing at each other. And you’re done!

Our video might help you to visually follow the process of how to clean your Philips Saeco and Gaggia Brew Unit.
Don't forget to visit our online store to find all the parts you need to keep your coffee clean and tasting just the first cup, enjoy!
Brew Unit Gasket -
NM01044 O-RING
Complete Brew Unit Rebuilt Kit - Seal, Grease & Shower Filter
Complete Tune Up Kit - Brew Gasket, Grease, Shower Filter, Upper and Lower Boiler Spout O-rings.
- Choosing a selection results in a full page refresh.
We take pride in our quality, service and technical expertise
CUSTOMER LOVE
Kathleen Ferguson
Excellent experience with Genius. They diagnosed the problem and repaired my DeLonghi PrimaDonna machine. They did exactly what they said they were going to do, did it on the timeline they predicted and for what they quoted. Communication was clear and the staff were friendly and helpful. They shipped it back to me for a reasonable price. Happy to have the machine back. Highly recommend this company.
Kelly
Clear, open, and friendly(!) communication throughout. I was given an estimate with an in-depth explanation of the anticipated repair and associated costs. The work was completed ahead of schedule and to the highest standard. When I say the machine is now better than new, I mean it: shots of espresso taste the same, but the coffee has gone from “fine” to *incredibly good.* Genius Coffee N’ Espresso stand by their repairs with a 3 month warranty on the work.
Sachin Agrawal
Fantastic group of people that truly know their craft. I have an older machine that unfortunately doesn't have parts available anymore. Despite this, the team at Genius Coffee spent time with me and helped me diagnose the issues. They spent lots of time explaining the way the machine works, communicating technical details and inspected the machine. In the end, I just needed to replace a broken o-ring. The part was a couple of bucks. They invested lots of time in helping me, so while they didn't make money on this transaction, they've won a customer for life!!! I couldn't recommend this place more. Team of truly helpful and knowledgeable people. Excellent communication and customer service.
Brian Kabaluk
Excellent customer service and product knowledge. Would recommend Genius to anyone looking parts or new products
Brian Chodoroff
I ordered a hard to find part (Breville BES870 Pressure Gauge) at a great price with reasonable shipping cost. Easy ordering and tracking. It arrived (to US address) quickly, well packaged (by Irma) and as advertised
James Lee
Staff was knowledgeable and helpful
A A
My experience with this place is always great. I love the kind welcoming and taste of their coffee. They sell high end coffee equipments. ☕️
Murray Thomson
Helpful, responsive, pleasant service. Machine repair queue is long but that’s not a fault of Genius; it’s long at every place I called. Strongly recommend
Daniel Alimohd
Stopped by to pick up a small replacement part for my espresso machine. Staff were friendly and helped locate the part over the phone and reserved it for pickup. The store has all the essential equipment and accessories for your espresso needs. Check it out!
Subscribe to our newsletter
Newsletter Signup
Information
Genius Store
Follow us
!